Getting Started
Overview
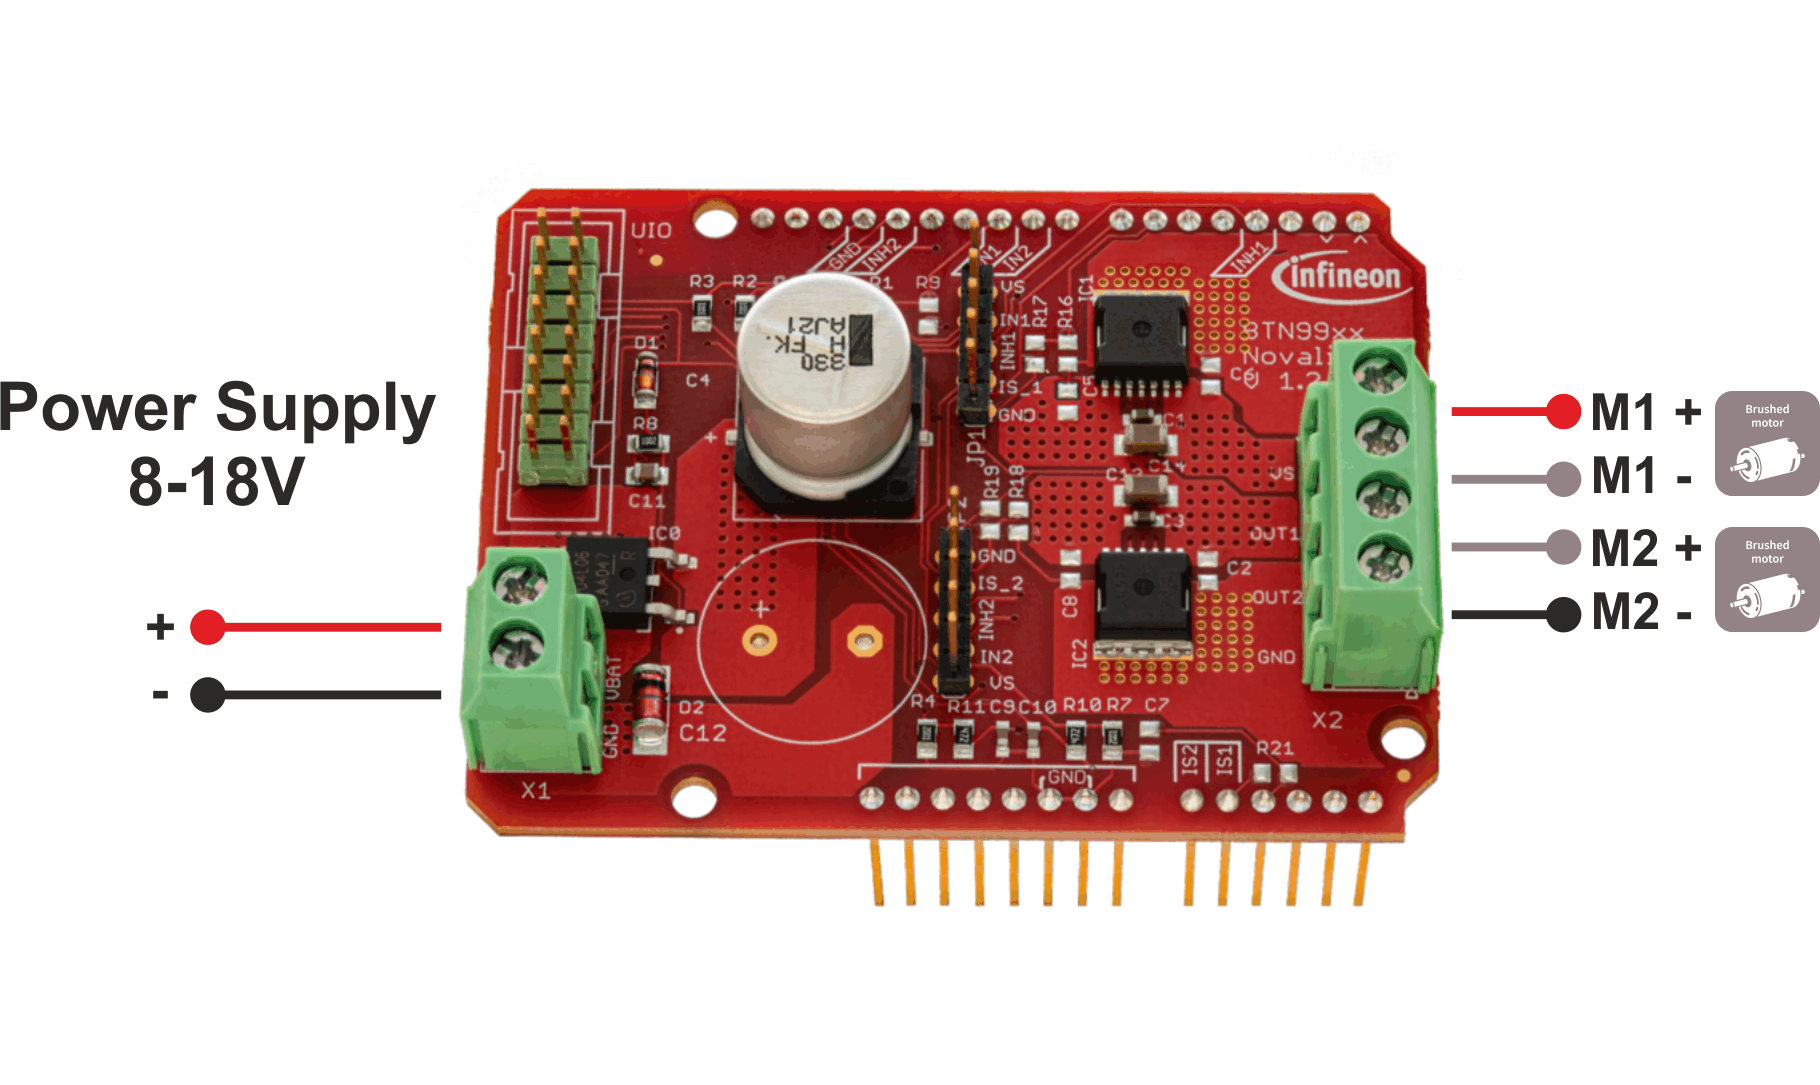
This getting started guide helps you to properly connect the DC Motor Control Shield with BTN9970LV and BTN9990LV with the right platform and teaches you how to install the required software to use the Infineon BTN99x0 chips.
Required Hardware
Microcontroller
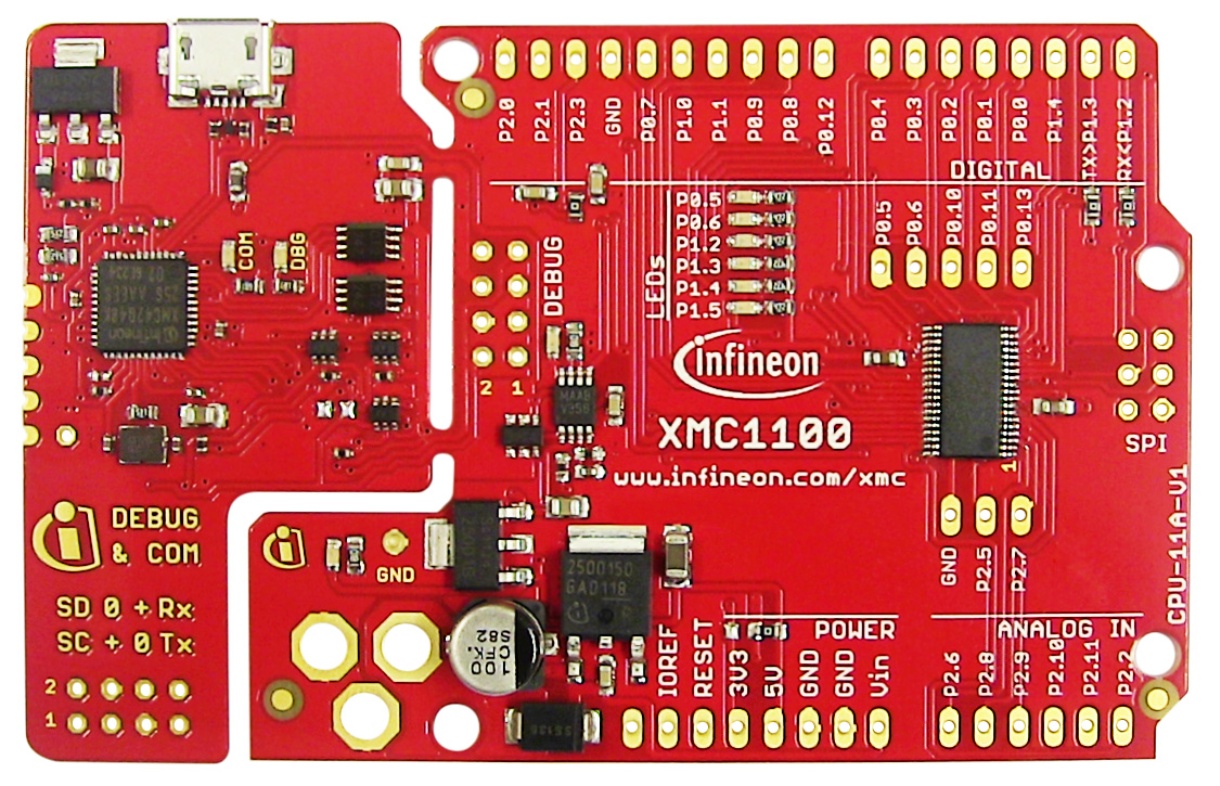
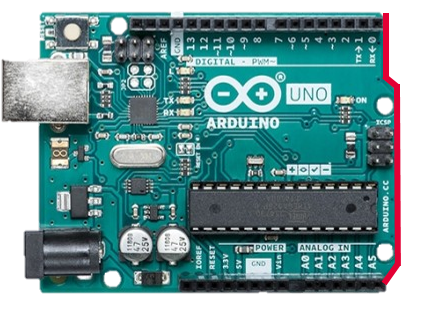
Any Arduino compatible board with Arduino Uno form-factor, like the XMC1100 Boot Kit.
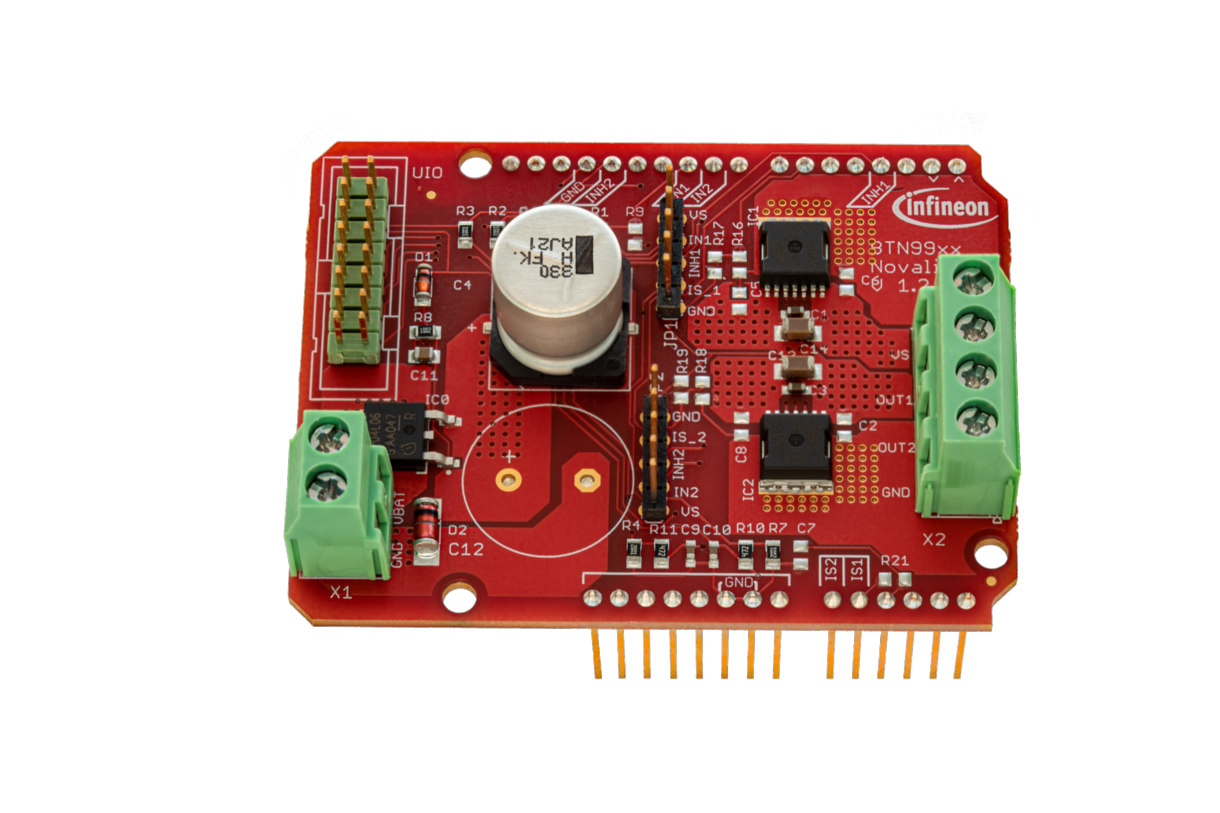
DC-SHIELD_BTN9970LV
Required Software
Tutorial
Software Installation
Install the Arduino IDE. If you are new to Arduino, please download the Arduino IDE and install it first.
Include the XMC boards in the IDE (if a XMC is used). The official Arduino boards are already available in the Arduino IDE, but other third party boards as the Infineon XMC MCU based ones need to be explicitly included. Follow the instructions in the link to add the XMC board family to the Arduino IDE.
Install the library. In the Arduino IDE, go to the menu Sketch > Include library > Library Manager. Type MOTIX BTN99x0* and install the library.
Hardware Setup
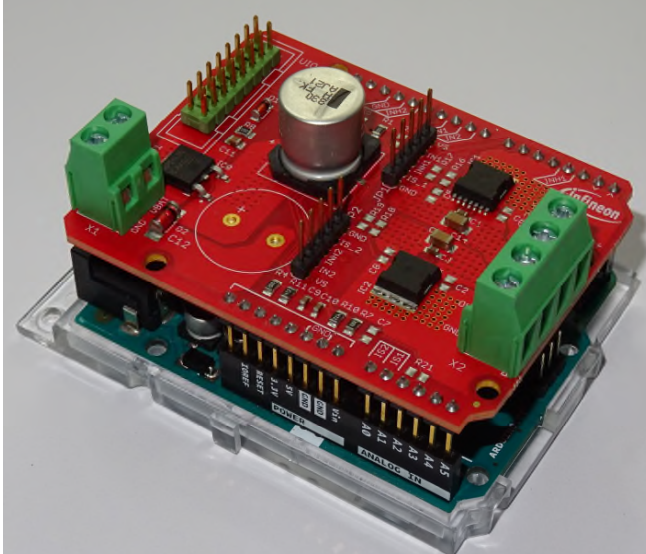
The shield can be used with all platforms that support the Arduino form factor. But please be aware that all these platforms have to have the same pin functionalities as the Arduino. Otherwise the full functionality of the shield cannot be assured.
To connect the shield you have to assure that the notch of the Arduino Uno and the shield are above each other. Then you can plug the shield on top of the Arduino.
The pin headers can also be used to figure out the right orientation. There is only one way to properly connect them.
As soon as the shield is connected to the Arduino you can connect a USB cable to the Arduino to power up the microcontroller. Make sure that either no code or the example code of this repository is flashed to the microcontroller. Otherwise it can happen that the board is already activating one of the switches.

Ready To Go!
Now you can upload the provided example code to your Arduino compatible board. For this, navigate in your Arduino IDE to File -> Examples -> MOTIX BTN99x0 -> shield_motor_control.
For a specific description and overview of all examples please refer to Arduino examples.